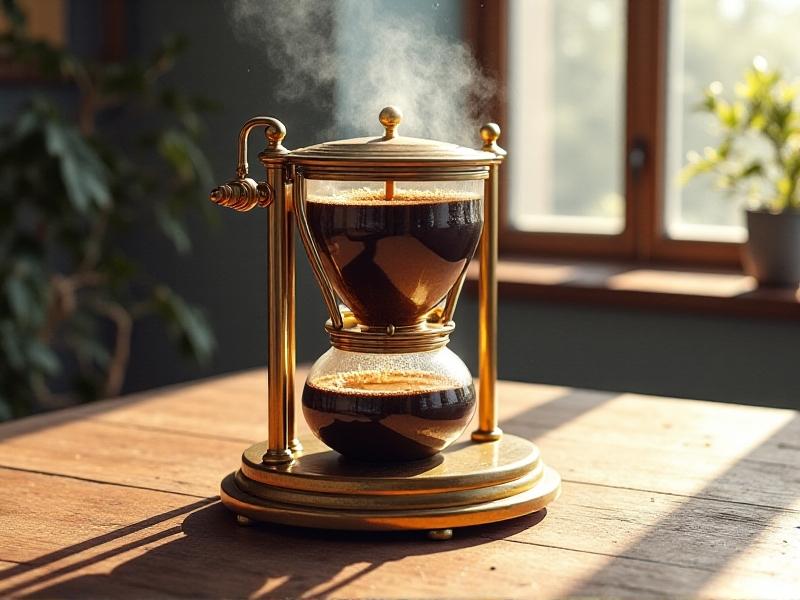
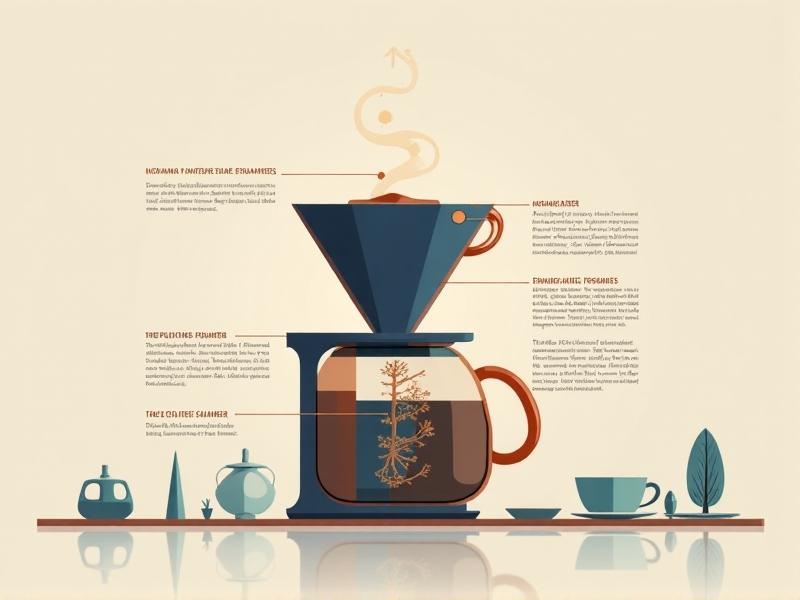
Vacuum Pot Temperature Curves
The Science and Art of Vacuum Pot Brewing
Vacuum pots, also known as siphon coffee makers, have captivated coffee enthusiasts since the 19th century. These elegant devices use vapor pressure and vacuum principles to brew coffee, creating a theatrical experience that combines physics and flavor. Central to their magic is the temperature curve—the rise and fall of heat during brewing. Understanding this curve unlocks precision, allowing baristas to extract nuanced flavors, from bright acidity to deep caramel notes. This post explores how temperature dynamics shape your cup and why vacuum brewing remains a gold standard for coffee aficionados.
The Mechanics of Vacuum Brewing
Vacuum pots consist of two chambers: lower (water) and upper (coffee grounds). Heat applied to the lower chamber creates vapor pressure, forcing hot water upward into the upper chamber. Once the heat source is removed, cooling vapor forms a vacuum, pulling brewed coffee back down through a filter. This process relies on precise temperature control. The ideal curve begins with rapid heating (90–94°C) to initiate extraction, followed by a gentle decline during steeping. Deviations—like overheating—can scorch grounds, while insufficient heat stalls the siphon effect, resulting in under-extraction. Mastery begins with respecting the physics behind each phase.
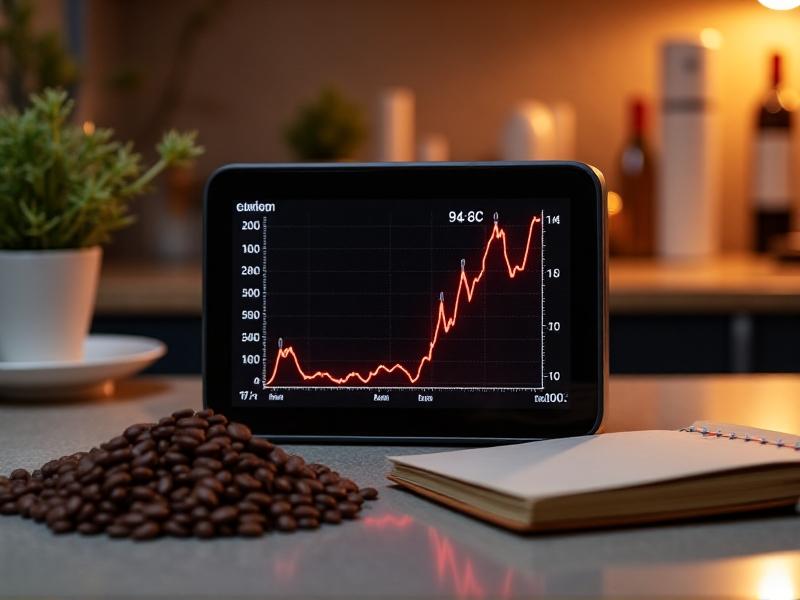
Decoding the Temperature Curve
A vacuum pot’s temperature curve has three phases: heating, equilibrium, and cooling. During heating, water reaches 92–94°C, optimal for extracting delicate acids and sugars. The equilibrium phase—when water and grounds interact—should hover around 88–90°C to avoid bitterness. Cooling must be gradual; a sharp drop disrupts filtration, leaving sediment. Tools like digital thermometers help track these phases, but seasoned brewers often rely on visual cues, such as bubble size and water flow. Experimentation is key: adjusting heat intensity or steeping time by even 10 seconds can shift the curve dramatically, revealing new flavor layers in familiar beans.
Flavor Extraction: How Heat Shapes Taste
Temperature dictates which compounds dissolve into your cup. High heat (above 94°C) accelerates extraction of bitter alkaloids and oils, while lower temps (85–90°C) preserve fruity esters and floral notes. Vacuum brewing’s steep-and-cool curve balances both: initial high heat extracts brightness, followed by mellower phases that round out the profile. For example, Ethiopian Yirgacheffe benefits from a shorter steep at 90°C to highlight jasmine and lemon, whereas Sumatran beans thrive with a longer, slightly hotter brew to emphasize earthy cocoa. The curve isn’t one-size-fits-all—it’s a dial to fine-tune origin character.

Vacuum Pots vs. Other Brew Methods
Unlike French press immersion or pour-over’s gravity-driven flow, vacuum brewing combines controlled pressure and filtration. This hybrid approach avoids over-extraction (common in French press) and channeling (a pour-over pitfall). Temperature stability is another differentiator: while automatic drip machines often brew too cool (80–85°C), vacuum pots sustain higher heat longer, enhancing solubility without scalding. However, they demand more attention than set-and-forget methods. The reward? Clarity and complexity unmatched by most techniques—a trade-off enthusiasts gladly accept.
Mastering Your Vacuum Pot: A Step-by-Step Guide
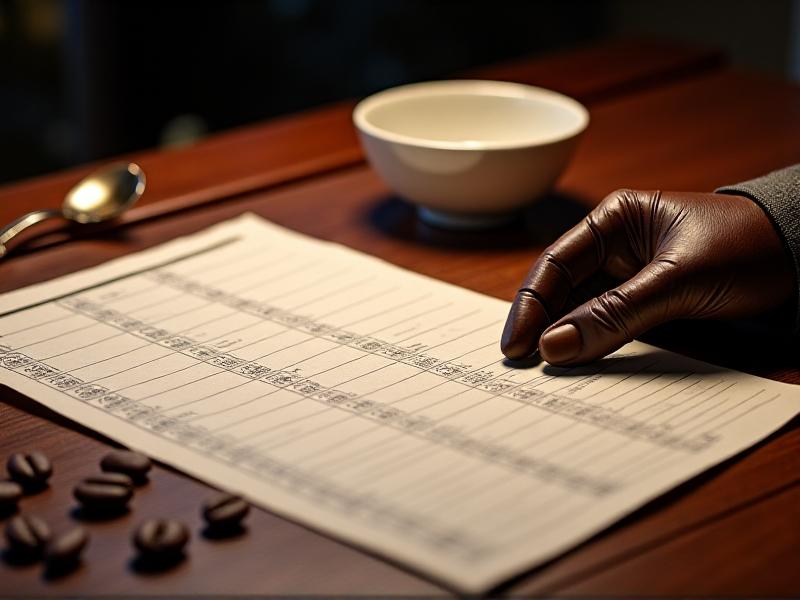
1. Prep: Use medium-fine grounds (similar to sea salt). Preheat the upper chamber with hot water to avoid thermal shock. 2. Heat: Fill the lower chamber with 200ml water per cup. Apply medium heat until water rises to the upper chamber (3–5 minutes). 3. Steep: Stir gently to saturate grounds. Maintain 88–90°C for 45–60 seconds. 4. Cool: Remove heat, letting coffee descend. A damp cloth on the lower chamber speeds cooling. 5. Serve: Decant immediately to prevent over-extraction from residual heat. Pro tip: Track each batch’s curve in a journal, noting flavor outcomes. Adjust one variable at a time—e.g., grind size or steep duration—to isolate effects.
Case Study: Iconic Vacuum Pots and Their Curves
The Hario Technica uses a stainless steel filter, favoring a faster flow and lighter body. Its curve peaks at 92°C, ideal for nuanced African coffees. The Yama Glass Stovetop , with its cloth filter, extends steeping to 75 seconds, creating a silkier mouthfeel suited for Latin American beans. Modern iterations like the Cona offer adjustable flame controls, enabling baristas to sculpt curves with laboratory precision. Each design tweaks the temperature dance—proof that innovation continues in this 200-year-old method.