Home Cupping Session Setup Guide
Understanding Cupping Therapy Basics
Cupping therapy is an ancient practice rooted in traditional medicine systems like Traditional Chinese Medicine (TCM) and Ayurveda. It involves placing specially designed cups on the skin to create suction, which promotes blood flow, relieves muscle tension, and supports overall wellness. Modern adaptations have made it accessible for home use, allowing individuals to enjoy its benefits without professional supervision. Before diving into setup, it’s essential to understand the two primary methods: dry cupping (suction only) and wet cupping (suction with controlled medicinal bleeding). For home sessions, dry cupping using silicone or plastic cups is recommended due to its simplicity and safety.
The benefits of cupping are multifaceted. It’s known to alleviate chronic pain, reduce inflammation, and improve flexibility. Additionally, many users report enhanced relaxation and stress relief, making it a popular complement to self-care routines. However, success hinges on proper technique and preparation. Beginners should start with smaller cups and shorter sessions to avoid excessive bruising or discomfort. Knowing your skin’s sensitivity and health conditions—like avoiding cupping over open wounds or varicose veins—is equally critical.
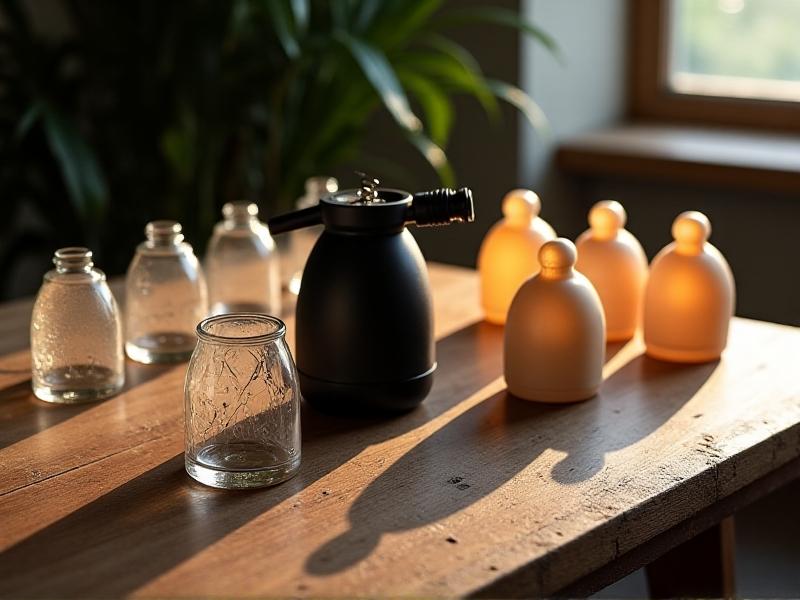
Essential Tools and Materials
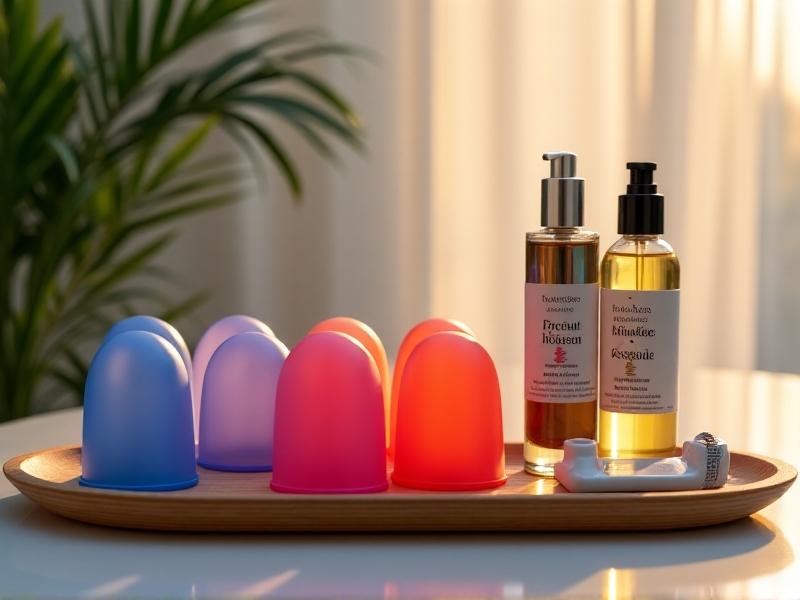
A well-prepared home cupping kit starts with the right tools. Silicone or plastic cups are ideal for beginners, as they’re easy to handle and require no heat source. Glass cups, while traditional, demand caution due to their reliance on flame-induced suction. A manual suction pump with a release valve offers precise control, reducing the risk of over-suction. Other essentials include rubbing alcohol or antiseptic wipes for sterilizing cups and skin, a moisturizer or massage oil to help cups glide smoothly, and a soft towel for post-session care.
Optional additions include a timer to track session duration (5–15 minutes per area) and a handheld mirror for targeting hard-to-reach spots like the upper back. When purchasing cups, prioritize sets with multiple sizes—smaller cups work for joints and curved areas, while larger ones suit broad muscle groups like the thighs or back. Always check for BPA-free materials to ensure safety during prolonged skin contact. For those interested in wet cupping, consult a professional before attempting it at home, as it involves minor incisions and carries higher infection risks.
Creating the Right Environment
Ambiance plays a pivotal role in maximizing cupping therapy’s relaxing effects. Choose a quiet, clutter-free space where you can lie down comfortably—a yoga mat or padded massage table works well. Dim the lights or use warm-toned bulbs to create a calming atmosphere. Consider adding a diffuser with lavender or eucalyptus essential oil to engage the senses and deepen relaxation. Soft background music or nature sounds can further enhance the experience, helping you transition into a meditative state.
Temperature control is equally important. Ensure the room is warm enough to keep muscles relaxed; cold environments can cause stiffness and reduce suction effectiveness. Layering breathable blankets nearby allows adjustments during the session. Keep supplies within arm’s reach to maintain flow—nothing disrupts relaxation like scrambling for a towel mid-session. If sharing the space, communicate your needs to housemates to minimize interruptions. Transforming a corner of your home into a serene sanctuary ensures both physical and mental readiness for the therapy.

Step-by-Step Cupping Application
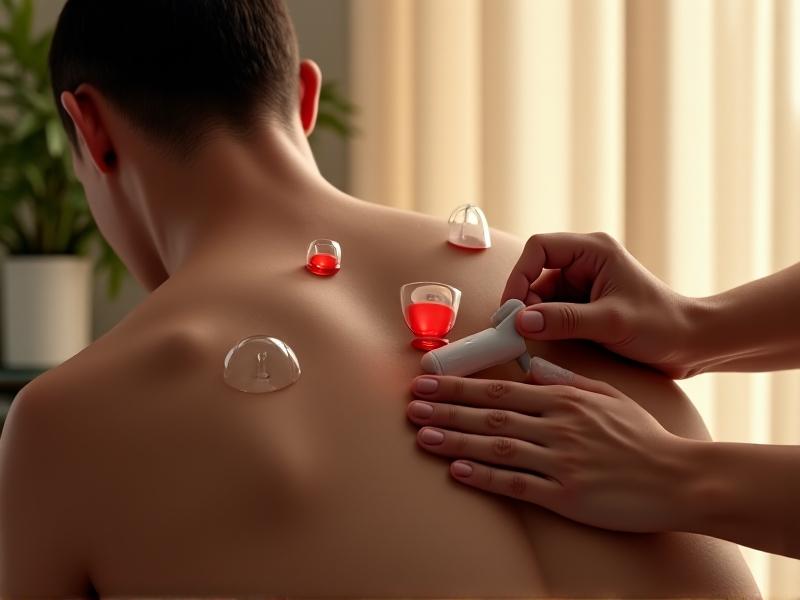
Begin by cleansing the target area with alcohol wipes to remove oils and sweat, ensuring proper cup adhesion. Apply a thin layer of massage oil to reduce friction and allow cups to glide if repositioning is needed. Place the cup on the skin and squeeze the pump (or compress the silicone cup) to create suction. Start with gentle pressure, especially for first-time users, and gradually increase based on comfort. Cups should feel snug but not painful—adjust the suction valve immediately if discomfort arises.
Focus on muscle groups like the upper back, shoulders, or thighs, avoiding bony areas and the spine. Keep cups in place for 5–10 minutes, monitoring the skin’s response. Circular or sliding cupping (moving the cup across oiled skin) can enhance massage effects for advanced users. After removing cups, press the release valve slowly to prevent abrupt pressure changes. Gently massage the area to restore circulation and blot any residual oil with a clean towel. Hydrate thoroughly afterward to aid detoxification.
Safety Precautions and Common Mistakes
While home cupping is generally safe, ignoring precautions can lead to burns, bruises, or skin damage. Avoid over-suctioning—cups shouldn’t leave dark purple marks immediately; moderate redness is normal. Never use cupping on sunburnt skin, rashes, or areas with deep vein thrombosis. Pregnant individuals should skip abdominal cupping, and those on blood thinners must consult a doctor first. Sterilize cups before and after each use to prevent infections, especially if sharing tools.
Common errors include leaving cups on too long, leading to blisters, or applying excessive force when moving cups, which causes bruising. Relying solely on cupping for chronic pain without medical advice is another pitfall—it’s a complementary therapy, not a cure-all. Beginners often misplace cups over bones or sensitive nerves; studying basic anatomy diagrams can mitigate this. If a cup feels intolerable, release it immediately. Post-session, avoid strenuous activity and heat exposure (like hot showers) for 4–6 hours to let the body recalibrate.
Aftercare and Maximizing Benefits
Post-cupping care determines how effectively your body responds to the therapy. Drink plenty of water to flush out toxins released during the session. Herbal teas like ginger or dandelion can enhance detoxification. Apply arnica gel or aloe vera to soothe the skin if marks feel tender. Light stretching or yoga helps maintain improved circulation and flexibility. Track your progress in a journal—note pain levels, sleep quality, and stress changes to identify patterns and optimize future sessions.
To prolong benefits, schedule cupping sessions 1–2 times weekly, allowing marks to fade between treatments. Pair cupping with mindfulness practices like deep breathing or meditation to amplify relaxation. Nutrition also plays a role—incorporate anti-inflammatory foods like turmeric, leafy greens, and omega-3-rich fish to support recovery. Lastly, listen to your body; if fatigue or dizziness occurs post-session, reduce suction strength or duration next time. Consistent, mindful practice transforms cupping from a mere ritual into a cornerstone of holistic well-being.