Burr Grinder Calibration for Espresso
The Importance of Burr Grinder Calibration in Espresso Brewing

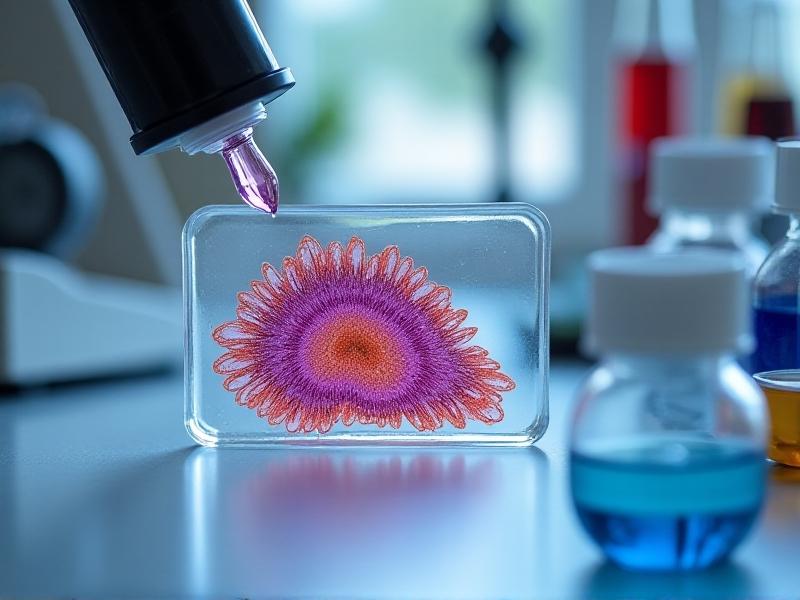
Espresso hinges on balance—the interplay between grind size, water pressure, and extraction time. At the heart of this balance lies burr grinder calibration. Inconsistent particle size from an uncalibrated grinder leads to channeling, where water bypasses densely packed grounds, resulting in sour under-extraction or bitter over-extraction. Proper calibration ensures uniformity, allowing even water flow and optimal flavor extraction. For specialty coffee enthusiasts, this precision isn’t optional; it’s the difference between a mediocre shot and one that sings with clarity.
Understanding Burr Grinder Mechanics: Conical vs. Flat Burrs
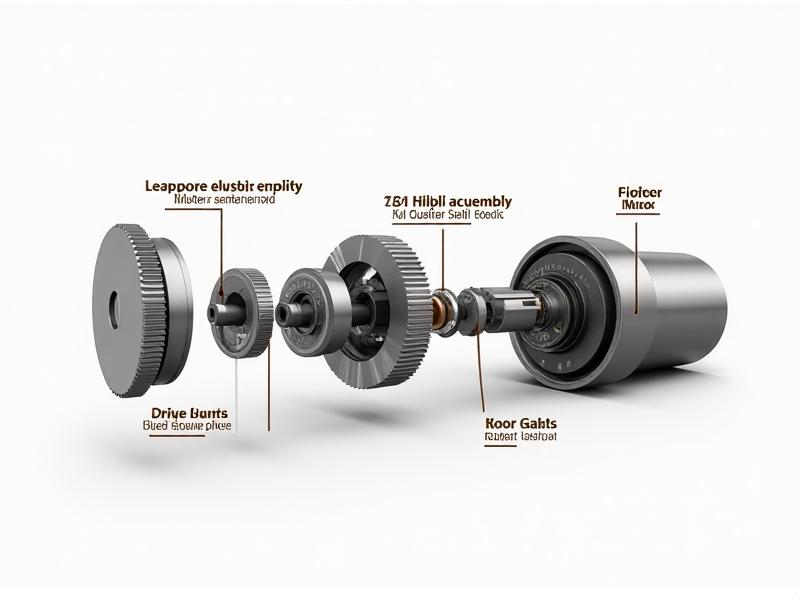
Burr grinders operate via two abrasive surfaces—conical or flat—that shear beans into particles. Conical burrs, shaped like cones, generate less heat and are quieter, ideal for home use. Flat burrs, parallel discs, offer precise control favored in cafés. Alignment is critical: misaligned burrs create fines and boulders, sabotaging consistency. High-end grinders allow manual alignment via set screws, but even mid-range models benefit from periodic checks. Material matters too—steel burrs last longer, while ceramic resists heat but wears faster.
Preparing Your Grinder: Cleaning and Initial Setup
Begin calibration with a pristine grinder. Oils and residual grounds skew particle size. Disassemble the burrs, brush debris, and wipe with a damp cloth. Avoid harsh chemicals—they leave residues. Reassemble, ensuring burrs seat properly. Check for wear: dull edges fracture beans unevenly. If burrs chip or smooth, replace them. Set the grinder to its coarsest setting before calibration to prevent motor strain. This groundwork ensures accurate adjustments and extends the grinder’s lifespan.
Finding the True Zero Point: Foundation of Calibration
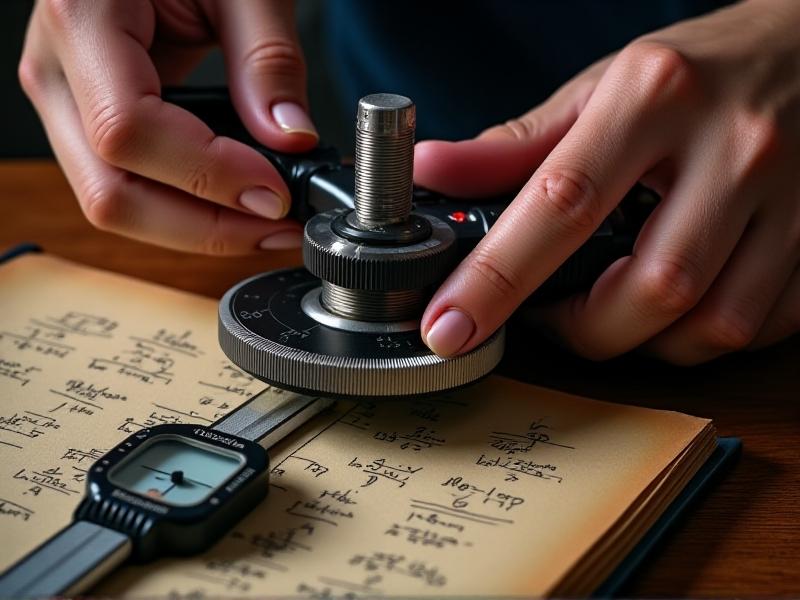
The “zero point” is where burrs touch without grinding. To find it, slowly tighten the adjustment wheel until you hear burrs chirping. Back off slightly—this is your true zero. Some grinders require shims (thin metal spacers) to eliminate play. Document this setting; it’s your baseline for fine-tuning. Without a reliable zero, grind size adjustments are guesswork. Pro tip: Repeat this process monthly, as burr wear shifts the zero point over time.
The Step-by-Step Calibration Process
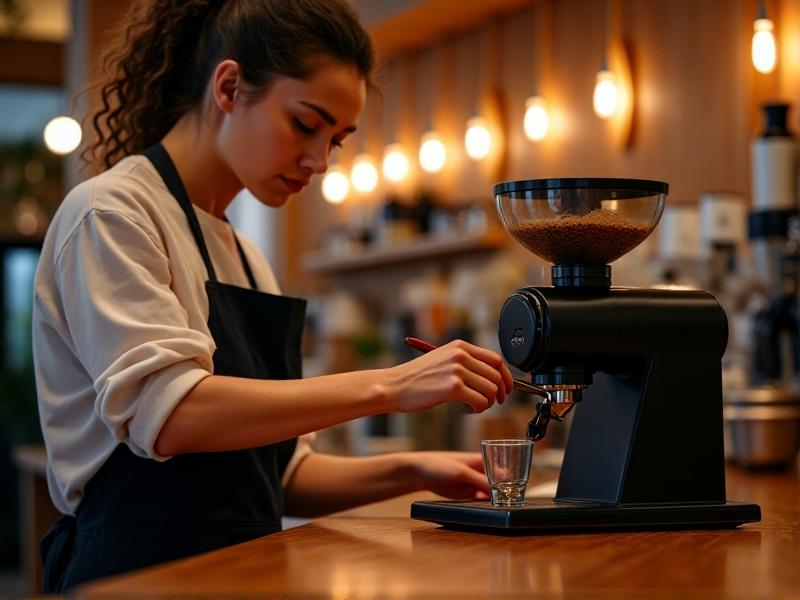
Starting at zero, adjust one click coarser. Grind 18g of beans, aim for a 25-30 second extraction yielding 36g espresso. If too fast (sour), go finer; too slow (bitter), coarser. Iterate in 2-3 click increments. Use a WDT tool to declump grounds and a leveling tamper for even density. Track adjustments in a journal—small changes have outsized impacts. Patience is key: rush this, and you’ll waste beans chasing consistency.
Troubleshooting Common Calibration Challenges
Static causes grounds to clump or stick. Spritz beans with water (RDT technique) before grinding. Heat from prolonged grinding alters particle structure—pause between shots. If burrs chatter, check alignment or tighten screws. Persistent inconsistencies? Worn burrs or a wobbly motor shaft may be culprits. When all else fails, consult manufacturer guidelines—some grinders need professional servicing.
Dialing In: Adjusting Grind for Espresso Styles and Roasts
Light roasts, dense and acidic, demand finer grinds to prolong extraction. Dark roasts, brittle and oily, extract faster—go coarser. Ristretto? Finer grind, shorter pull. Lungo? Coarser, extended brew. Play with ratios: a 1:3 yield highlights brightness in African beans. Always adjust one variable at a time—grind, dose, then temperature—to isolate flavors.
Post-Calibration Maintenance: Keeping Your Grinder Optimal
Daily: brush loose grounds. Weekly: deep clean burrs. Monthly: check alignment. Annually: replace burrs if pulling >10kg yearly. Monitor grind time—slower grinding indicates motor stress. Store beans in airtight containers; humidity swells beans, altering grind consistency. A well-maintained grinder sustains calibration for years.
Real-World Applications: Case Studies and Success Stories
A third-wave café in Portland reduced waste by 40% after implementing hourly grind checks. Home barista Maria, struggling with sour shots, discovered her grinder’s zero point had drifted—recalibration transformed her morning routine. These stories underscore calibration’s tangible impact on quality and efficiency.
Pro Tips for Sustaining Precision and Flavor
Use a 0.1g scale for dosing. Temp-control your water—200°F is ideal. Let the machine heat stabilize between shots. Embrace the “purge and grind” ritual: discard retention from previous grinds. And remember: even the best calibration can’t fix stale beans. Start with quality, and let precision elevate it.